Sanding and painting 3D prints: a finish plan that holds up
By Let's 3D Studio · 1 min read
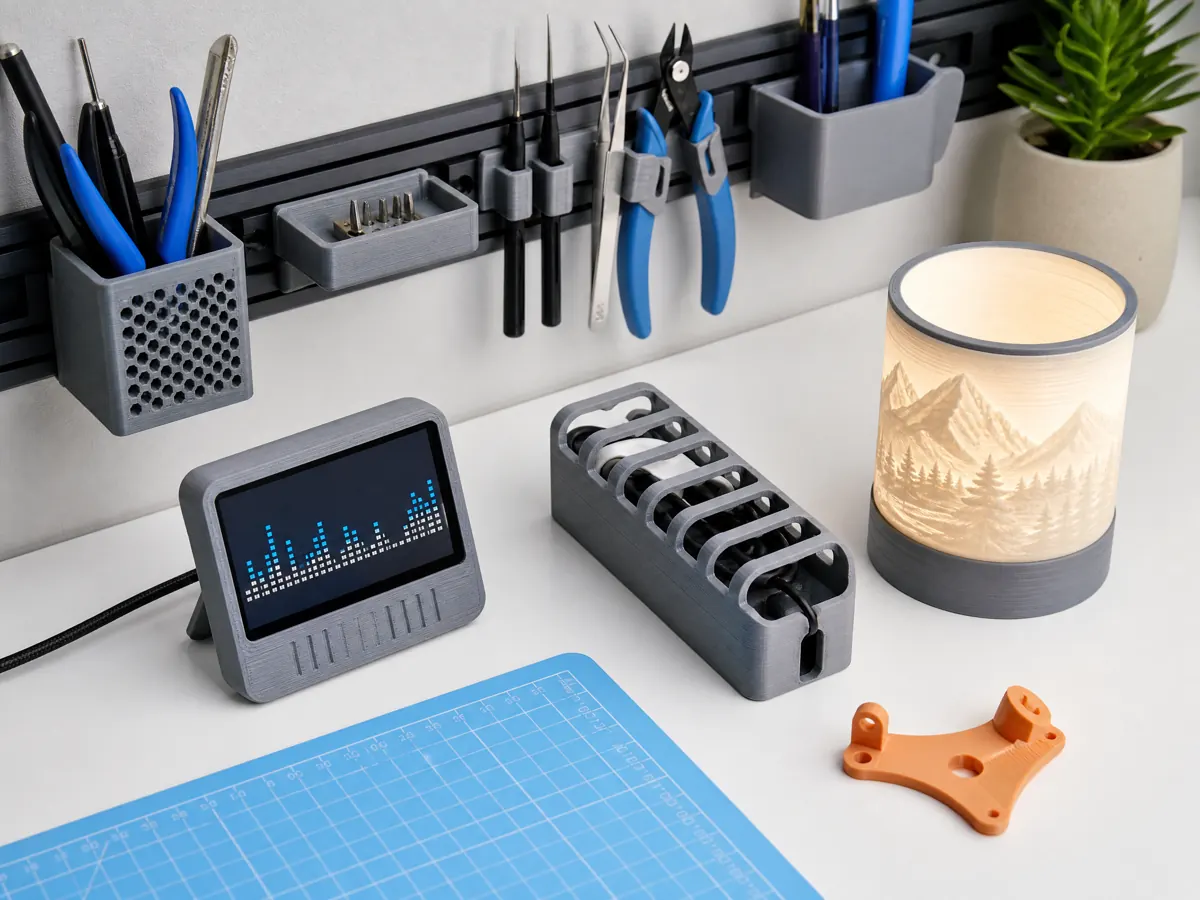
Successful finishing is a sequence of inspection, surface preparation, filling where needed, and thin controlled coats. Begin by removing support marks and strings carefully, because paint will emphasize loose fragments and rough edges rather than conceal them.
Sand progressively only where the surface needs it, using a backing block on broad faces to protect geometry. A compatible filler or primer can reveal low spots and layer texture, but heavy applications can soften fine lettering or corner details.
Let each coat cure as directed by its manufacturer, then evaluate under the same light in which the piece will be used. A restrained finish that preserves a model’s proportions usually feels more intentional than a thick finish that hides its design.