How FDM 3D printing works: from filament to finished part
By Let’s 3D Studio · 12 min read
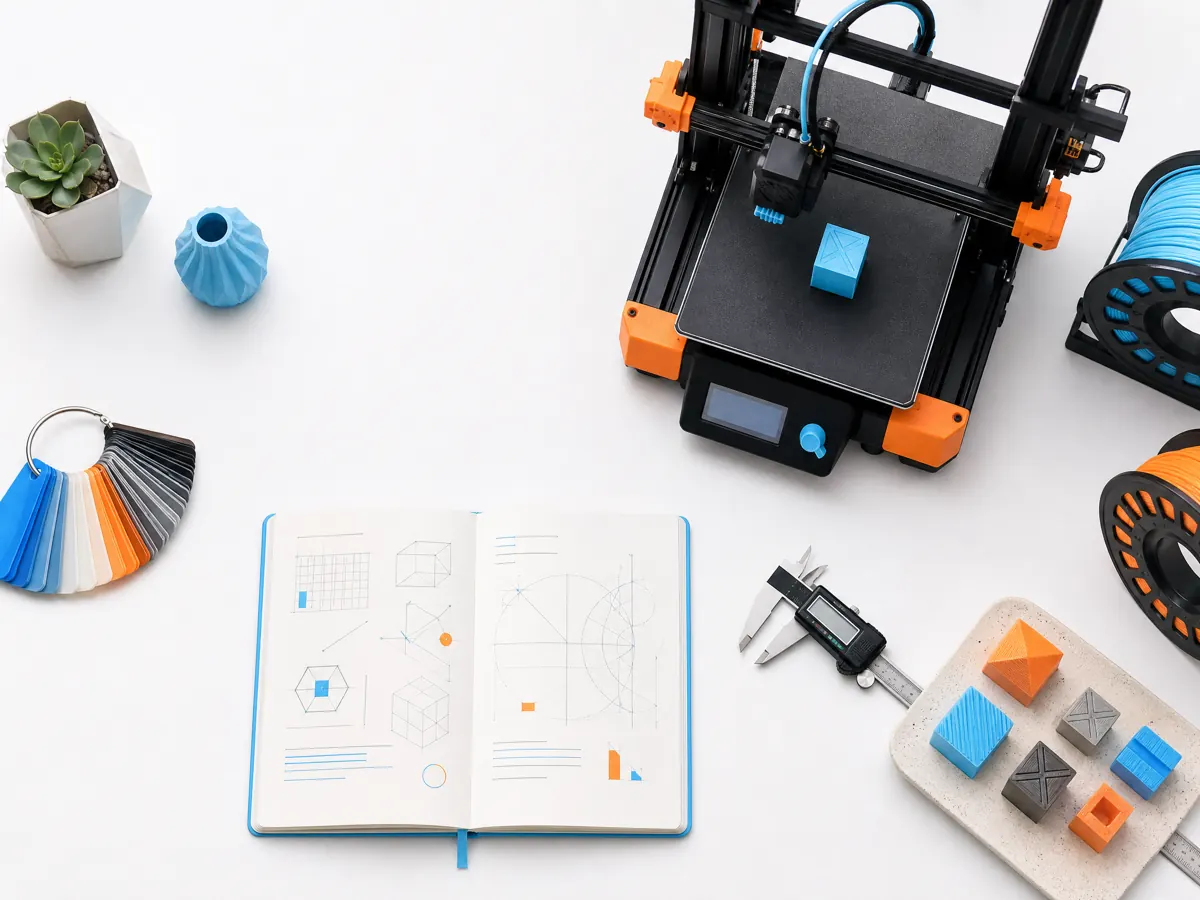
Overview: What FDM 3D printing is and how it builds parts
Fused Deposition Modeling (FDM) is one of the most accessible and widely used additive manufacturing technologies. The machine melts a thermoplastic filament and deposits it through a small nozzle in precise paths while the build platform and nozzle move in three axes. Layers accumulate until a full 3D part is formed.
At a high level, the process follows these steps:
- Feed filament into an extruder.
- Melt and push filament through a hotend/nozzle.
- Move the nozzle (and/or bed) to deposit lines of plastic (roads) according to sliced instructions.
- Repeat layer by layer, with cooling and solidifying, until the object is finished.
- Remove the part and apply any post-processing.
This article explains key hardware and material elements, a practical workflow from CAD to a finished part, safe starting settings, diagnostic reasoning for common print problems, and practical post-processing and maintenance tips.
Key components of an FDM system
Understanding hardware helps diagnose problems and choose correct settings.
Filament and spool
Thermoplastic filament (typically 1.75 mm or 2.85/3.00 mm) is the feedstock. Filament material, diameter tolerance, moisture content, and spooling behavior affect print quality.
Extruder and hotend
The extruder pushes filament into the hotend. There are two common arrangements:
- Direct drive: extruder motor sits close to the hotend — better for flexible filaments.
- Bowden: filament is guided through a PTFE tube from a remote extruder — lighter moving mass, often faster.
The hotend contains a heat break, a heater block with a cartridge heater, and a nozzle. The nozzle diameter (commonly 0.2–0.8 mm) determines extrusion width and layer resolution.
Hot bed / build surface
A heated bed helps adhesion and reduces warping. Surfaces include glass, PEI, BuildTak, and magnetic sheets. Adhesion aids (glue stick, hairspray, tape) are common for some materials.
Motion system and electronics
Stepper motors drive the X/Y/Z axes. Belt tension, lead screw quality, and frame rigidity affect dimensional accuracy and layer consistency. Firmware manages motion planning, temperatures, and safety interlocks.
Cooling and enclosure
Part cooling fans help bridge strength and surface finish for some materials. Enclosures retain heat for high-temperature materials (ABS, nylon) to reduce warping and layer delamination.
Workflow: from design to a printed part
This section provides a practical sequence and tips for each step.
1) Design and part layout
Design with FDM constraints in mind:
- Prefer flat faces on the build plate for best first-layer adhesion.
- Minimize overhangs greater than 45 degrees where possible. If unavoidable, plan supports.
- Use fillets and chamfers to reduce stress concentrations and improve strength.
- Consider part orientation to optimize strength direction (layers are weakest between layers, so orient load-bearing features parallel to the layers when possible).
Tip: If dimensional accuracy is critical, include test features (holes, pins) in the design to calibrate scale and hole compensation.
2) Slicing strategies
Slicing converts a 3D model (STL/OBJ) into G-code. Key slicing choices:
- Layer height: affects surface finish and strength. Typical layer heights are 25–75% of nozzle diameter. For a 0.4 mm nozzle, 0.12–0.28 mm is a practical range.
- Shells/perimeters: more perimeters increase strength and surface quality. Two to four perimeters is common.
- Infill: determines internal structure and weight. 10–50% infill is typical. Use denser infill for functional parts.
- Print speed: faster prints reduce time but can compromise quality. See the recommended ranges below.
- Supports: enable for overhangs beyond your chosen angle threshold.
- Retraction: controls oozing and stringing.
Always preview toolpaths in the slicer. Look for unexpected gaps, isolated islands, or strange travel moves.
3) Printer preparation
- Clean the build surface and inspect the nozzle.
- Load filament and verify the filament feeds smoothly.
- Heat the nozzle and bed to the target temperatures before starting.
- Level or mesh-level the bed. Many issues start with incorrect first-layer height.
- Preheat and extrude a small amount manually to confirm flow.
4) Starting a print and monitoring early layers
The first few layers are critical. Watch the extrusion during the first layer:
- Lines should be slightly squished and well-adhered, not too thin or piled up.
- If the filament shreds or slips, check extruder tension and feed path.
- If gaps appear, lower the nozzle a touch or increase extrusion multiplier slightly.
5) Mid-print monitoring
Occasional monitoring helps catch layer shifts, clogging, or warping early:
- Listen for unusual noises (grinding, clicking).
- Observe part cooling — some materials need more or less cooling depending on bridging and layer adhesion.
6) Post-print removal and cleanup
Allow parts to cool for a few minutes to reduce warping on removal. Use a flat scraper carefully and consider using a flexible build plate for easier removal.
Practical starting settings: common filaments
Below are practical starting ranges. Treat these as starting points requiring tuning per specific filament brand, machine, and environment.
| Material | Nozzle temp (°C) | Bed temp (°C) | Part cooling | Print speed (mm/s) | Notes |
|---|---|---|---|---|---|
| PLA | 190–220 | 20–60 (optional) | 30–100% | 30–70 | Easiest to print; low warp |
| PETG | 230–250 | 60–80 | 0–50% | 30–60 | Good strength, stickiness can be an issue |
| ABS | 230–260 | 90–110 | 0–20% | 30–60 | Needs enclosure to reduce warping |
| TPU (flexible) | 200–230 | 20–60 | 0–30% | 10–30 | Slower, direct drive recommended |
| Nylon | 240–270 | 70–100 | 0–20% | 20–50 | Hygroscopic—dry filament required |
Nozzle sizes and corresponding practical layer height ranges:
| Nozzle diameter | Typical layer height range |
|---|---|
| 0.25 mm | 0.08–0.18 mm |
| 0.4 mm | 0.12–0.28 mm |
| 0.6 mm | 0.18–0.40 mm |
| 0.8 mm | 0.24–0.60 mm |
These tables are intended as safe starting points. Fine-tune based on results.
Common problems, symptoms, causes, and practical diagnostics
Below are common failures with step-by-step diagnostic reasoning and fixes.
Symptom: Poor first layer (lines not sticking, gaps, uneven extrusion)
Diagnostic reasoning:
- If filament drags or the extruder slips, the feed tension, filament path obstructions, or a partially clogged nozzle could be the cause.
- If lines are too thin and not squished, the nozzle is too high.
- If lines are smeared or filament buckles, the nozzle is too low.
Practical fixes:
- Re-level the bed or adjust Z-offset. Aim for a first layer that is slightly flattened.
- Clean the bed surface and use appropriate adhesion aids (glue stick, PEI, painters tape) for the material.
- Check filament path and extruder gear engagement; increase tension slightly if slipping.
- Preheat bed and nozzle, then extrude to confirm smooth flow.
Symptom: Stringing between features or fine hairs
Diagnostic reasoning:
- Stringing occurs when molten filament oozes during travel moves. It’s influenced by nozzle temperature, retraction settings, and filament viscosity.
- High nozzle temperature reduces filament viscosity and increases ooze. Insufficient retraction length or speed allows filament to drip.
Practical fixes:
- Reduce nozzle temperature in 5 °C steps until stringing reduces.
- Increase retraction distance (start 3–6 mm for 1.75 mm filament in a Bowden system; 1–3 mm for direct drive) and retraction speed (20–70 mm/s). Tune incrementally.
- Enable "coasting" or "wipe" features in slicer if available.
- Minimize travel moves over open areas; enable combing or optimized travel.
Symptom: Under-extrusion (gaps in layers, thin layers)
Diagnostic reasoning:
- Under-extrusion can come from partially clogged nozzle, incorrect extrusion multiplier, filament slipping, grinding gears, kinks in filament, or too high print speed for the hotend’s melt rate.
Practical fixes:
- Manually extrude at printing temperature to check for smooth flow.
- Inspect and clean the nozzle; replace if worn or damaged.
- Check extruder tension and gear for filament debris; clean gear teeth.
- Lower print speed or raise nozzle temperature slightly if melt rate is insufficient.
- Calibrate extrusion steps per mm (e-steps) and verify slicer extrusion multiplier.
Symptom: Layer delamination or weak interlayer adhesion
Diagnostic reasoning:
- Layer bonding suffers when the interface cools too quickly, the nozzle temp is too low, or material properties/contamination prevent adhesion. For PLA, excessive cooling can cause poor bonding. For ABS and nylons, lack of an enclosure or excessive cooling causes delamination.
Practical fixes:
- Increase nozzle temperature within material’s recommended range.
- Reduce part cooling fan speed for materials that need heat to bond.
- Use an enclosure for heat-sensitive materials.
- Consider annealing parts to relieve internal stresses (see post-processing).
Symptom: Warping and lifted corners
Diagnostic reasoning:
- Warping arises from uneven cooling, thermal contraction, and poor bed adhesion. It’s most common with high-temperature materials (ABS) and large flat areas.
Practical fixes:
- Increase bed temperature and improve adhesion (brims, rafts, adhesive surfaces).
- Use an enclosure to maintain ambient temperature.
- Orient parts to reduce large flat areas or break them into smaller sections.
- Add fillets or chamfers to corners to reduce stress concentration.
Symptom: Blobs and zits on surface
Diagnostic reasoning:
- Blobs commonly form from over-extrusion at start/stop of extrusions, retractions that are too slow, or pressure build-up in the nozzle.
Practical fixes:
- Enable linear advance or pressure advance features if firmware supports them (reduces pressure build-up).
- Tune retraction and coasting settings.
- Reduce extrusion multiplier slightly.
- Optimize slicer settings for minimizing retractions near visible faces.
Symptom: Clogged nozzle or intermittent extrusion
Diagnostic reasoning:
- Clogs from degraded filament, dust, old burnt polymer, or wrong temperature transitions cause inconsistent flow. Partial clogs show intermittent extrusion; full clogs stop flow.
Practical fixes:
- Heat to printing temperature and perform a cold pull with cleaning filament or nylon to remove residue.
- Replace nozzle if cold pull doesn’t clear obstruction.
- Ensure filament is clean and dry; use dust filters on spools.
Symptom: Layer shifting
Diagnostic reasoning:
- Sudden horizontal shifts usually come from skipped steps: belt slack, obstructed motion, mechanical interference, or stepper motor overheating/current issues.
Practical fixes:
- Inspect and tighten belts and pulleys.
- Check for mechanical obstructions on rods and linear rails.
- Confirm stepper drivers and motor currents are set correctly; verify wiring.
- Slow print speed for testing and observe if shifts persist.
Post-processing and finishing
Post-processing turns a printed object into a finished part. The choice depends on material and intended use.
Support removal and sanding
- Remove supports with pliers and flush cutters. Start with the largest pieces and work down to finer supports.
- Use files, coarse-to-fine sandpaper (120 -> 400 -> 800+ grit), and sanding blocks for flat surfaces.
- Be mindful of thin features near support interfaces.
Gap filling and priming
- Use filler putty or automotive body filler to fill layer lines or gaps. Sand smooth, then prime before painting.
- Use a flexible primer for flexible materials.
Chemical smoothing
- Acetone vapor smoothing works for ABS to melt the outer layer and achieve glossy finish. Caveats:
- Only use in a controlled, ventilated setup with proper PPE.
- Acetone is flammable and produces harmful vapors—do not experiment in improvised setups.
- Smoothing reduces fine detail and slightly changes part dimensions.
Thermal annealing
- Some materials (PLA, PETG, nylon) can be annealed in a controlled oven to increase crystallinity and heat deflection. Caveats:
- Annealing can change part dimensions (shrink or warp).
- Use temperature and time recommendations specific to the filament brand.
- Monitor closely; test on a calibration part first.
Painting and coating
- Use a compatible primer, then spray paint. For functional parts, consider protective clear coats.
- For parts exposed to solvents or high heat, select paints and coatings with appropriate chemical/thermal resistance.
Maintenance and filament handling
Routine maintenance keeps prints reliable.
- Keep spare nozzles and PTFE liners available.
- Replace nozzle if flow degrades or if you observe wear.
- Clean extruder gears and check for filament dust build-up.
- Periodically check belt tension and lubricate smooth rods where applicable (do not over-lubricate).
- Store filament in dry, airtight containers with desiccant packs. Many filaments are hygroscopic; moisture causes bubbling, stringing, and weak parts.
- Dry filament using a filament dryer or oven at manufacturer-recommended temperatures if moisture is suspected.
Safety and material considerations
- Ventilation: Print in a well-ventilated area. Some filaments (ABS, nylon) release volatile organic compounds (VOCs) during printing. Use local extraction or an enclosed printer with filtration if needed.
- Temperature hazards: Hotend and heated bed reach temperatures capable of causing burns. Keep contact away and allow cooling time before handling.
- Fire safety: Keep the printer away from flammable materials and avoid leaving it unattended for long periods without appropriate safety measures. Ensure your smoke detectors are operational and consider an enclosure with thermal cutoff features.
- Chemical safety: When using solvents (acetone, isopropyl alcohol), use gloves, eye protection, and work in a ventilated area. Dispose of chemical waste properly.
- Mechanical safety: Moving parts can pinch or trap. Power off the printer before maintenance.
Practical troubleshooting checklist
When a print fails, follow a concise diagnostic checklist:
- Inspect the first layer: correct Z-offset and adhesion?
- Confirm extrusion: does filament flow when manually extruded at temperature?
- Check for clogs: perform a cold pull if intermittent extrusion occurs.
- Examine belts and pulleys: are they tight and secure?
- Check temperatures: are nozzle and bed within expected range?
- Review slicer settings: layer height vs nozzle diameter, retraction, and speeds.
- Consider filament condition: is it moist, tangled, or contaminated?
- Test with a known good filament and calibration cube to isolate printer vs filament vs slicer issues.
Final practical recommendations and a sample starter profile
For a typical hobby FDM printer with a 0.4 mm nozzle, use this starter profile for PLA and tune from there:
- Nozzle diameter: 0.4 mm
- Layer height: 0.2 mm
- Nozzle temp: 200 °C (start) — adjust ±5–10 °C
- Bed temp: 50 °C
- Print speed: 50 mm/s (outer perimeter 30–40 mm/s)
- Retraction: 1.5–2.5 mm direct drive, 4–6 mm Bowden; speed 25–45 mm/s
- Perimeters: 2–3
- Infill: 15–25%
- Cooling fan: 50–100% after first 2 layers
- Adhesion: PEI sheet or blue painter’s tape; brim for small-footprint parts
Start prints with a small calibration cube and a temperature tower if you need to dial in the best temperature for a new filament spool. Keep a small notebook or digital log of successful settings per filament brand—this saves time later.
Conclusion
FDM 3D printing combines material science, mechanical systems, and slicing strategies. Success comes from understanding the interaction between filament, temperature, motion, and cooling. Use the practical starting ranges, follow a structured diagnostic approach when problems arise, and perform routine maintenance and filament care. Safety precautions around ventilation, hot components, and solvents are essential. With methodical tuning and the diagnostic methods described here, you can move reliably from filament to finished part and iterate confidently to improve quality and functionality.