How to fix under-extrusion: diagnose flow, filament, and nozzle restrictions
كيف تعالج نقص البثق: تشخيص التدفق والخامة وانسداد الفوهة
By Let’s 3D Studio · 4 min read
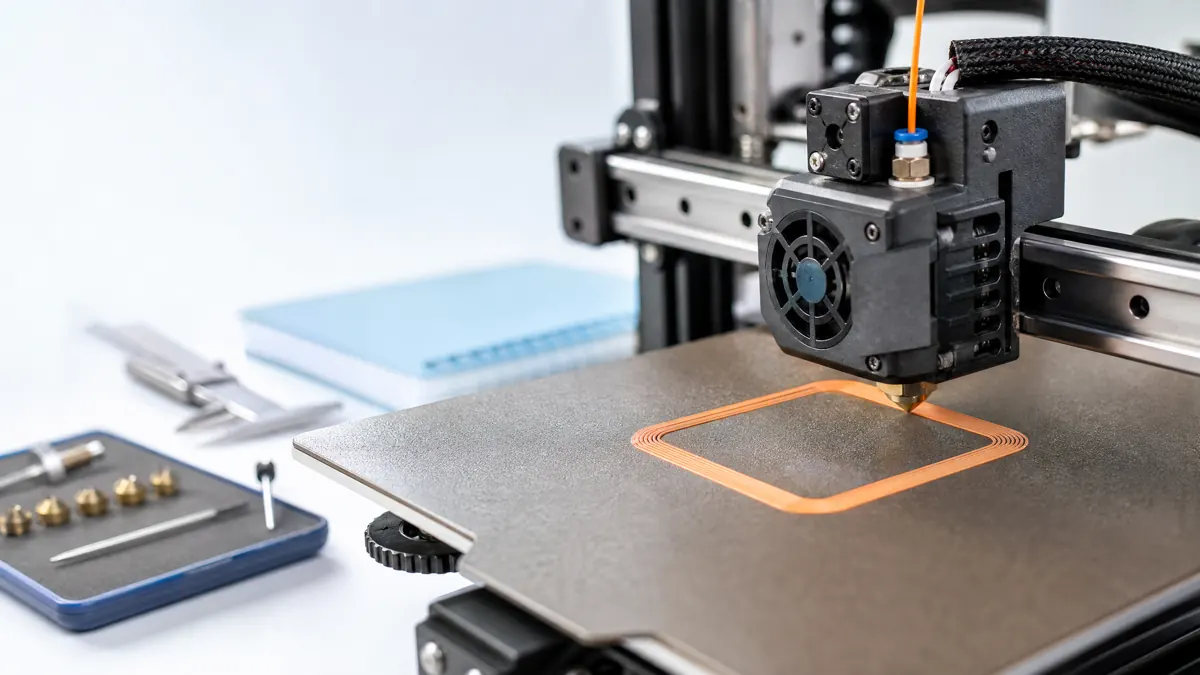
Under-extrusion appears when the printer commands a continuous bead but delivers too little plastic. You may see gaps between lines, weak walls, rough top layers, clicking from the extruder, or a print that becomes increasingly sparse. The same symptom can come from several places, so changing flow, temperature, and retraction at once usually hides the real cause.
Confirm that it is really under-extrusion
Look at the failure pattern. Gaps that begin at the first layer can be a leveling or Z-offset issue. Missing material only after many retractions can indicate heat creep, a partial clog, or excessive retraction. Thin walls everywhere can point to an incorrect filament diameter, extrusion multiplier, or a drive system that is slipping. A single damaged spool path can also create intermittent starvation.
Start with a normal profile for the exact filament. Do not compensate for a mechanical fault by permanently raising the flow percentage. Flow adjustment is useful after the machine feeds consistently; it cannot repair a blocked melt path.
Use a safe diagnostic sequence
- Pause the print if the fault is severe and inspect the spool path. Confirm the spool turns freely and the filament is not crossing over itself.
- Check that the filament matches the slicer diameter setting. A 1.75 mm profile used with another diameter produces misleading calculations.
- With the hotend at the filament maker’s recommended range, command a small amount of extrusion in air using the printer’s normal controls. Observe whether the strand exits straight and consistently.
- Inspect the drive gear and idler for ground filament dust or a chewed groove. Brush debris away with the printer powered down and cool where required by the manual.
- If extrusion remains inconsistent, follow the manufacturer’s nozzle-cleaning procedure. Do not force cold filament through a hotend or disassemble a hot heater block without the documented tools and precautions.
The common causes
| Symptom | Likely area | Conservative next action |
|---|---|---|
| Clicking and a deep notch in filament | Drive tension, obstruction, or low melt capacity | Clear the path, inspect the gear, and reduce demand before altering calibration |
| Smooth feed but thin lines everywhere | Slicer flow, filament diameter, worn nozzle | Check profile values and measure a simple single-wall test |
| Good start, then failure after retractions | Heat creep or partial clog | Reduce aggressive retraction and inspect cooling and nozzle condition |
| Random gaps with brittle or popping filament | Moisture or inconsistent spool feed | Dry and store as specified by the filament maker; ensure free spool rotation |
Temperature and speed are a pair
Plastic needs enough time and heat to melt before it leaves the nozzle. Raising print speed, increasing layer height, or using a wider line increases the volumetric flow demand. If that demand exceeds what the hotend can melt, the drive gear may slip even though nothing is obstructed. Return to a known-good speed first. Then use the filament maker’s temperature range as a bounded test: small changes can improve flow, but do not exceed the printer or material manufacturer’s limits.
A nozzle that once printed reliably may wear or accumulate residue. Abrasive filled filaments accelerate wear and require a suitable hardened nozzle. A worn nozzle can make line width and flow behavior less predictable. Replace consumables according to the machine manufacturer’s guidance rather than enlarging settings until a fault disappears.
Calibrate only after feed is stable
When the filament path and melt flow are consistent, print a simple single-wall cube or flow test. Measure the result with calipers and adjust the extrusion multiplier in small increments. Keep notes that identify the material, nozzle, temperature, line width, and profile version. One stable material profile is more useful than a collection of unexplained flow overrides.
Under-extrusion is often a useful signal rather than a mystery. Observe where it starts, reduce the system to a known-good condition, and change one variable at a time. This approach protects the nozzle, avoids unsafe maintenance shortcuts, and produces settings you can trust on the next print.